
How to See Instagram DM Requests: The Complete Guide
In the dynamic world of Instagram, your direct message (DM) inbox is more than just a chat feature—it’s a gateway to opportunities, connections, and community engagement. Whether it’s a potential client, a collaboration offer from a brand, a message from a distant admirer, or even an important update, critical communications often arrive from people you don’t yet follow. These messages don’t land in your primary inbox; they are held in a separate, often-overlooked folder known as Message Requests. Failing to manage this space means you could be missing out on valuable interactions or, conversely, leaving yourself exposed to unwanted contact.
This comprehensive guide will demystify Instagram DM requests. We’ll provide a detailed, step-by-step walkthrough on how to access, evaluate, and manage these messages across both mobile and desktop platforms. Beyond the basics, we’ll delve into advanced features like Hidden Requests, discuss strategic reasons for monitoring this folder, and offer best practices for maintaining a secure and efficient Instagram messaging system. By the end of this article, you’ll possess the knowledge and confidence to master your Instagram DM requests, ensuring you never miss a meaningful connection again.
Understanding Instagram DM Requests: Your VIP Waiting Room
Before diving into the “how-to,” it’s crucial to understand the “what” and “why.” Instagram’s message request system is a privacy feature designed to give users control over their inbox.
What Are Message Requests?
Simply put, Instagram DM requests are messages sent to you by users whom you do not follow. When a non-follower sends you a message, Instagram does not deliver it directly to your primary chat list. Instead, it is placed in a separate “Requests” folder. You will receive a notification that you have a new message request, but the sender cannot see if you’ve read it until you explicitly accept the request. This creates a protective buffer, allowing you to screen the message and the sender before engaging.
The Critical Difference: Requests vs. Primary Inbox
Understanding this distinction is key to managing your Instagram presence effectively:
- Primary Inbox: Contains conversations with people you follow back, or whose requests you have accepted. Both parties can see read receipts (“Seen”).
- Requests Folder: Acts as a holding area for initial contact from non-followers. No read receipts are sent, giving you anonymity while you decide how to proceed.
Think of the Requests folder as a VIP waiting area or a screened porch. You can see who’s there and what they want before deciding to invite them into the main house (your primary inbox) or asking them to leave.
Step-by-Step: How to Find and View Instagram DM Requests
The process for accessing your message requests is straightforward but varies slightly between the mobile app and desktop browser. Follow these detailed instructions.
On the Instagram Mobile App (iOS & Android)
The mobile app provides the most direct access to your message requests. Here is the detailed procedure:
- Open the Instagram app and ensure you are logged into your account.
- Navigate to your home feed or profile page.
- Locate and tap the paper airplane icon (DM icon) in the top-right corner of the screen. This action opens your direct message inbox.
- At the top of your primary chat list, you will see two tabs: “Primary” and “Requests.” Tap on “Requests.”
- You will now see a list of all pending message requests. A number badge on the tab indicates how many un-reviewed requests you have.
- To preview a message, simply tap on the conversation. You can read the full message thread without the sender being notified.
On the Instagram Desktop Website
Managing your Instagram inbox from a computer is equally possible. The interface is slightly different but just as functional.
- Go to instagram.com and log into your account.
- Click on the messenger icon in the top-right corner of the navigation bar.
- A message panel will slide open from the right side of the screen.
- At the top of this panel, click on “Message Requests.” This will filter the view to show only your pending requests.
Pro Tip: Regularly checking both platforms ensures you stay on top of your messages, whether you’re on the go with your phone or working from your desktop.
Navigating Advanced Features: Hidden Requests and Spam
Instagram employs automated systems to filter out potentially offensive or spammy content, creating an additional layer of protection within your Requests folder.
What Are Hidden Requests?
Instagram’s algorithm proactively filters messages that may contain offensive words, phrases, emojis, or that are sent from accounts exhibiting spam-like behavior. These filtered messages are not placed in your main Requests folder; instead, they are diverted to a sub-folder labeled “Hidden Requests.” This is a separate category from manually hidden chats, serving as Instagram’s first line of defense against abuse.
How to Access Hidden Requests
- Open your Instagram DM inbox (tap the paper airplane icon).
- Go to the “Requests” tab.
- Look for a secondary option that says “See Hidden Requests.” or “Hidden Requests.” This is typically located below your standard requests list.
- Tap this option to review any messages that Instagram has filtered. A number badge here indicates how many hidden requests you have.
It is advisable to periodically check this folder, as false positives can occur. A legitimate business inquiry or a compliment using colloquial language might occasionally be misclassified.
Taking Action: How to Manage Your Message Requests
Once you’ve viewed a request, you have three primary courses of action: Accept, Delete, or Block. Each has distinct implications.
1. How to Accept a Message Request
Accepting a request moves the conversation to your primary inbox and allows normal two-way communication to proceed.
Consequences of Accepting:
- The sender is not automatically added to your followers list.
- The sender will be able to see when you have read subsequent messages (the “Seen” receipt is activated).
- The sender can now send you future messages directly to your primary inbox without going through the request process again.
Steps to Accept:
- Open the request from the “Requests” folder.
- Read the message content and review the sender’s profile.
- If you wish to engage, tap the “Accept” button, typically located at the bottom of the message thread.
- The conversation will instantly transfer to your Primary inbox, and you can reply as you would to any other contact.
2. How to Delete (Decline) a Message Request
Deleting a request is a simple declination. It removes the message from your folder without any further action against the sender.
Consequences of Deleting:
- The message is removed from your Requests folder.
- The sender receives no notification that you have declined their request.
- The sender can still send you another message request in the future, which will appear as a new entry in your folder.
This is the ideal action for irrelevant spam, cold sales pitches, or messages you simply wish to ignore without escalating the situation.
3. How to Block a Sender from Message Requests
Blocking is a more severe action taken directly from the request thread. It prevents all future contact from that account.
Consequences of Blocking:
- The current message request is deleted.
- The account is added to your block list.
- The user cannot view your profile, follow you, or send you any form of message (request or otherwise).
- Use this option for accounts sending harassing, threatening, or repeatedly unwanted messages.
Steps to Block: While viewing the request, look for a “Block” option—often accessible by tapping the sender’s name at the top or via a “More Options” (three-dot) menu. Confirm your choice to enact the block.
Strategic Importance: Why You Must Regularly Check Your DM Requests
Neglecting your Instagram DM Requests folder is a common but costly mistake for both personal and professional users. Here’s why this feature demands your attention:
For Professionals and Creators
- Business Opportunities: Brands often scout for collaborations by reaching out via DM. A missed request could mean a lost paid partnership, sponsorship, or guest posting opportunity.
- Client Inquiries: Potential clients frequently use DMs to ask about services, pricing, and availability. A prompt response can be the difference between securing a project and losing it to a competitor.
- Networking: Fellow professionals in your industry may reach out to connect, share ideas, or invite you to events.
For All Users
- Community Building: Engaging with followers who take the time to send thoughtful messages fosters loyalty and strengthens your community.
- Security Monitoring: Regularly reviewing the Hidden Requests folder helps you identify spam or abusive accounts, allowing you to block them and maintain a safer online environment.
- Reconnecting: An old friend or acquaintance who isn’t connected with you on Instagram might use a DM request to re-establish contact.
Proactive Management: Tips and Best Practices
Mastering your DM requests goes beyond knowing where the folder is. Implement these strategies for optimal management:
1. Establish a Review Routine
Set aside time weekly, or even daily if you have a high-profile account, to check both your standard and Hidden Requests. Consistency prevents buildup and ensures timely responses.
2. Leverage Third-Party Tools (Cautiously)
As mentioned in the original content, some DM management apps and social media platforms offer tools for scheduling, auto-replies, and inbox organization for business accounts. If you choose to use these, ensure they are reputable and comply with Instagram’s Terms of Service to avoid security risks or account penalties.
3. Adjust Your Privacy Settings
You can control who can send you message requests. Navigate to Settings & Privacy > Messages. Here, you can choose options like:
- “Everyone”: Allows requests from any Instagram user.
- “People you follow”: Restricts message requests only to your followers (this is the most restrictive).
Tailoring these settings can significantly reduce spam if request volume becomes unmanageable.
4. Use the “Vanish Mode” and “Ignore” Features
For conversations you’ve already accepted but wish to manage discreetly:
- Vanish Mode: Enables disappearing messages for a specific chat, useful for temporary conversations.
- Ignore: This keeps a conversation in your Primary inbox but mutes notifications and prevents read receipts, effectively archiving it without deleting.
Conclusion: Take Command of Your Instagram
✨ Enhanced Content ✨
Whether it’s a networking opportunity, a brand inquiry, or just a simple greeting, knowing how to access and manage your Instagram DM requests can enhance your Instagram experience.
This happens when a non-follower tries to message you; their message is immediately saved in a different tab called “Requests.”
But how to see Instagram DM requests, and accept or delete them if needed? In this blog, we’ll guide you through the steps to view and organize these requests effectively, ensuring you never miss an important message again!
While the request folder is easy to find in the Instagram app, you can also use other DM apps for Instagram to automate your messages or better manage your account.
Now, let’s see your message requests!
What Exactly Are Instagram DM Requests?
Instagram allows you to receive messages from non-followers that you may not yet know. So, DM requests are messages from users you don’t follow.
The issue that has emerged lately is that a lot of people have said they don’t know how to access these requests.
All of the DM requests end up in the DM Requests folder, which functions similarly to a VIP waiting area where you choose who is invited to chat.
How to Find Message Requests on Instagram
To see Instagram DM requests, you should follow the instructions below.
- Tap the paper plane or the DM icon in the top-right corner of the screen.

- Now, find the ‘Requests’ tab.

What Are Instagram Hidden Message Requests
As you get to reach a wider audience, we are bound to be more exposed to abusive content, whether it’s racist, sexist, or any other kind of abuse.
Instagram filters messages containing offensive words, phrases, or emojis, and places them in hidden requests. Just remember, these are different from hiding Instagram messages on your own.
As mentioned earlier, to see the hidden Instagram DM requests, simply:
- Click on the paper airplane,
- Go to ‘requests,’ and you will find a separate category, called ‘Hidden Requests.)

If you have any hidden requests, meaning messages containing the filtered words, you will see a number in front of this folder. If it’s zero, it means you don’t have any hidden messages right now.
How to Accept Message Requests on Instagram
Now that you know how to access message requests on Instagram, it’s time to see how you can accept or decline them. Accepting message requests on Instagram means that you allow the sender to DM you from now on.
So, if you’re sure about allowing the Instagram DM request, follow the steps below:
- Open the Instagram DM inbox from the top right corner of your IG feed.
- Choose the ‘Requests’ tab.
- Tap on any conversation you want to accept.
- From the options that appear below, choose ‘Accept.’

That’s it! Now, you can answer the message, and this sender will be able to send DMs without sending a message request on Instagram. Remember that as long as it’s a request, the IG ‘Seen’ receipt won’t give you away. But, as soon as you accept it, the receipt will appear.
How to Block Message Requests on Instagram
Declining an Instagram message request is indeed different from blocking! To decline a DM request, you only need to delete it. This way, every time the sender tries to send Instagram messages to you, you’ll receive another request you can either accept or delete!
But if you block message requests on Instagram, you’re in fact blocking or reporting that account. And once you block someone’s messages on Instagram, they won’t be able to contact you on this platform again, even with a request!
So, to find out how to block or decline messages on Instagram, take these steps:
- First, open the messages section and enter the ‘Requests’ tab.
- Select any request you want.
- From the options at the bottom, choose ‘Delete’ if you simply want to decline the request, and choose ‘Block’ if you’d like to block their account.
Why Should You Care About Instagram DM Requests?
You might ask yourself, why should you even check your Instagram DM requests while they are from those you don’t follow? Here are some of the reasons to prove the idea is not that bad after all:
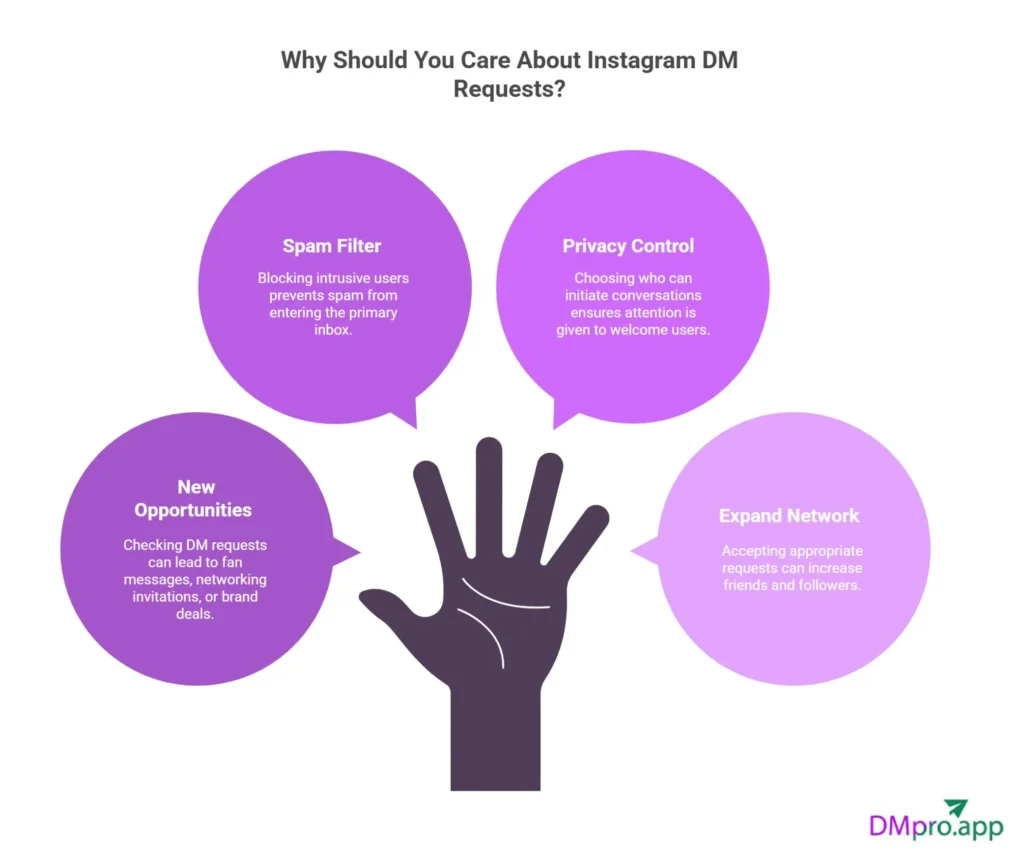
- New opportunities: DM requests may contain fan messages, networking invitations, or brand deals. It can be harmful not to go through some of these.
- Spam filter: Prevent spam and other undesirable information from entering your primary inbox by blocking intrusive users.
- Privacy control: You can choose who can initiate conversations in your direct messages, ensuring that only those who are welcome receive your full attention.
- Expand your network: By accepting the appropriate request, you can naturally gain more friends and followers.
How to Turn Off Message Requests on Instagram?
Be careful, turning off the Instagram message request means that strangers won’t be able to send you messages through the DM request! Now, to learn how to turn off message requests on Instagram, follow the instructions below:
- Go to Profile > Settings > Privacy > Messages.
- Under Others on Instagram, select Don’t receive requests.
This prevents non-followers from sending you direct messages, limiting direct messages to your existing followers.
What Happens When You Turn Off Message Requests?
There will be some scenarios when you choose to turn off message requests. Here is a complete list of these situations:
| Scenario | What Happens | Notes / Impact |
|---|---|---|
| People You Don’t Follow Can’t Message You | Users outside your following list can’t send you DMs. The “Message” button may appear grayed out or unavailable. | Effectively blocks all new messages from strangers (“Others on Instagram”) |
| No Notification or Alert to the Sender | Instagram doesn’t notify the sender that their message wasn’t delivered. | From their view, the message seems undelivered or simply disappears. |
| Pending Requests Stay Intact | Existing message requests remain in your Request folder. | Turning off the setting doesn’t delete or affect current pending requests. |
1. People You Don’t Follow Can’t Message You
If you disable message requests for “Others on Instagram,” people who don’t follow you can’t send you a DM. They’ll see the “Message” button grayed out or won’t be able to start a chat at all.
2. No Notification or Alert to the Sender
Instagram does not notify the sender that their message couldn’t be delivered.
From their perspective, it just seems like the message never went through or stays unsent.
3. Pending Requests Stay Intact
You don’t need to worry about other requests in your request folder. They will not be deleted if you turn off the message request option.
Why Do My Instagram DM Requests Disappear
Have you ever received a notification from an Instagram message request but couldn’t see it when you entered the app?! There are four possibilities as to why our Instagram DM request has disappeared.
- Unsent messages: The person has deleted or unsent their Instagram message. Therefore, you can’t see the request anymore.
- Being blocked: If you are blocked while you have the request in your folder, you can’t see it, and it will be deleted automatically.
You have followed them: The main purpose of the request folder is for messages from those whom you don’t follow. If you follow them, their message will be in the inbox and not the Instagram DM request folder.
How to Make the Most of Our Instagram Direct Inbox
One of the most effective tools for building client relationships, making leads, and increasing sales is your Instagram Direct Inbox. However, you might not always be available to reply to your messages. Therefore, you may need some tricks to make the most out of this inbox.
1. Set Up Welcome Messages
A friendly welcome message helps set the tone for the conversation and gives the impression that they are important to you. With Instagram DM automation tools, you can even send a greeting or thank-you message when someone sends a message or replies to your Story.
2. Add FAQs to Save Time
Common customer questions like “What are your prices?” or “Do you ship internationally?” can be handled automatically through quick replies or the Instagram DM FAQ feature.
This saves time for your team and delivers instant answers to customers, improving response times and satisfaction.
3. Managing Message Requests Efficiently
It is a usual problem with businesses to have lots of Instagram message requests that need to be managed in the fastest way. There are tricks like using saved replies to speed up manual responses or encouraging followers to comment or use Story replies, which can move messages into your main inbox faster.
However, this must be said that automation doesn’t work in the request folder.
Instagram currently does not allow automations to work on the message requests folder. That means if someone who hasn’t messaged you before sends a DM, you’ll need to manually accept it before automations can start working.
Don’t worry. We know handling large volumes of DMs, especially message requests, can be overwhelming.

This is where apps like DMpro will help a lot. DMpro helps you streamline your inbox by organizing messages, setting automated workflows, and managing conversations more efficiently. All the things you need to use Instagram messages to their full potential.
Conclusion on Instagram Message Request
Instagram DM Requests are your doorway to new relationships, business opportunities, and new teamwork while blocking off annoying chats. They are more than simply secret messages. You can take control of your Instagram connections by learning how to use DM requests in the right way, as we mentioned in the article.
So, keep your Instagram clean and spam-free by just managing your DM requests in style.
FAQs
Should you accept an Instagram DM request, two things will happen.
– The sender will understand that you have read their message.
– You can continue communicating with the sender through your Instagram direct inbox.
You can’t. Rejecting an Instagram DM request does not immediately notify you. Instagram doesn’t send any notifications, such as “this person declined your message.”
If your Instagram message requests disappeared, or you can’t see them, you can check for these possibilities:
– Your Internet connection is weak.
– The sender has deleted the message from both sides.
– It’s an Instagram DM glitch.
– If you switched to a Business account, you’ll have Primary / General inboxes. Requests may be shown differently there.
– Your “Hidden words” setting is on.
Yes. Here is what will happen if you accept someone’s message request on Instagram:
– Once you accept the request, the message thread will be moved into your regular chat inbox.
– After that, “Seen” will be applied (unless one of you has disabled it).
– Now, the sender can see that the thread has been moved to their regular inbox and has a “Seen” identifier. But Instagram doesn’t send a notification saying “Your request was accepted.”
[elementor-template id="24702"]